Reference: RBD-1354
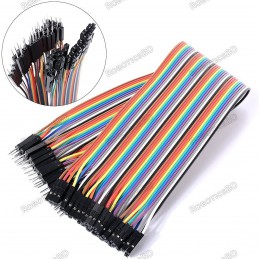
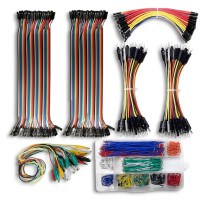
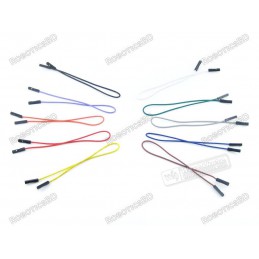
Jumper Wire Single 20cm
Length: 8 inches/20 CM (Long) Material: Copper Plated Pin Spacing: 2.54mm.
Reference: RBD-1354
Length: 8 inches/20 CM (Long) Material: Copper Plated Pin Spacing: 2.54mm.
Reference: RBD-0351
Contactless transmission of data and supply energy (no battery needed) Operating distance: Up to 100mm (depending on antenna geometry) RoboticsBD Operating frequency: 13.56MHz Data transfer: 106 kbit/s Data integrity: 16 Bit CRC, parity, bit coding bit counting Anticollision Typical ticketing transaction: <100 ms ( including backup management)...
Reference: 0245
Choose your desire Resistor value from below:
Reference: 0031
3 Types Available (Please select from option) 1. Male to Male 2. Male to Female 3. Female-Female
Reference: RBD-0768
Size: 5mm Color: RED Head Shape: Round Lens Appearance: Transparent
Reference: RBD-0761
Breadboard friendly Mounting Style: Through Hole Mounting Direction: Vertical
Reference: 1353
Length: 12.5 inches/30 CM (Long) Material: Copper Plated Pin Spacing: 2.54mm.
Subcategories
Reference: RBD-2199
Compatible with the Arduino IDE, making it easy for beginners to start using Smaller and cheaper than traditional Arduino boards Powered by a 16.0 MHz microcontroller Fully assembled except for headers, allowing for easy soldering Great for projects where size and cost are a concern Perfect for beginners to jump into electronics Can be used for a variety...
Reference: RBD-0987
Compatible with Arduino NANO All digital and analog pins breakout Compact size; External power supply current support Leads all pins out, convenient for wiring and doing experiments.
Reference: RBD-2427
Now you can connect your Arduino boards, ESP or any other development platform with the Type-C USB Cable. Through a USB-C to USB-A connection, this data USB cable can easily connect your Arduino boards with your chosen programming device.
Reference: RBD-2463
The SOP8 test clip is made of high-quality plastic and copper metal, which is durable and can be reused.When using the SOP8 test clamp, do not force it down, open the clamp and clamp it in from the left and right sides of the chip.The same is true when disassembling, you can't pull it out directly, you must first separate the clip from left to right, and...